Have you ever craved pancakes on a lazy Saturday or wanted to bake cookies to share, but felt lost in the kitchen? We get it. There’s something undeniably magical about making – the sweet aroma, the anticipation of that first bite, and the joy of sharing what you’ve made with loved ones. But, sometimes, the hassle of measuring and following complicated recipes can dampen the baking bliss.
That’s where Krusteaz can help. Krusteaz mixes simplify the baking process, delivering delicious results in no time. Our goal is simple: to empower our Makers with the confidence to create pancakes and muffins and cookies and cakes and waffles and brownies and… well, the possibilities are endless.
In this guide, we’ll walk you through getting started with Krusteaz mixes, plus the basics of baking, ensuring that every step is as enjoyable as the final delicious bite. So let’s roll up our sleeves, preheat those ovens and griddles, and dive into a world of easy, tasty, and oh-so-satisfying baking with Krusteaz.
Ingredients And Their Uses
Creating delicious treats with Krusteaz mixes is a breeze. All you need to add are a few kitchen staples to achieve bakery-quality results. Let’s explore each of these key ingredients:
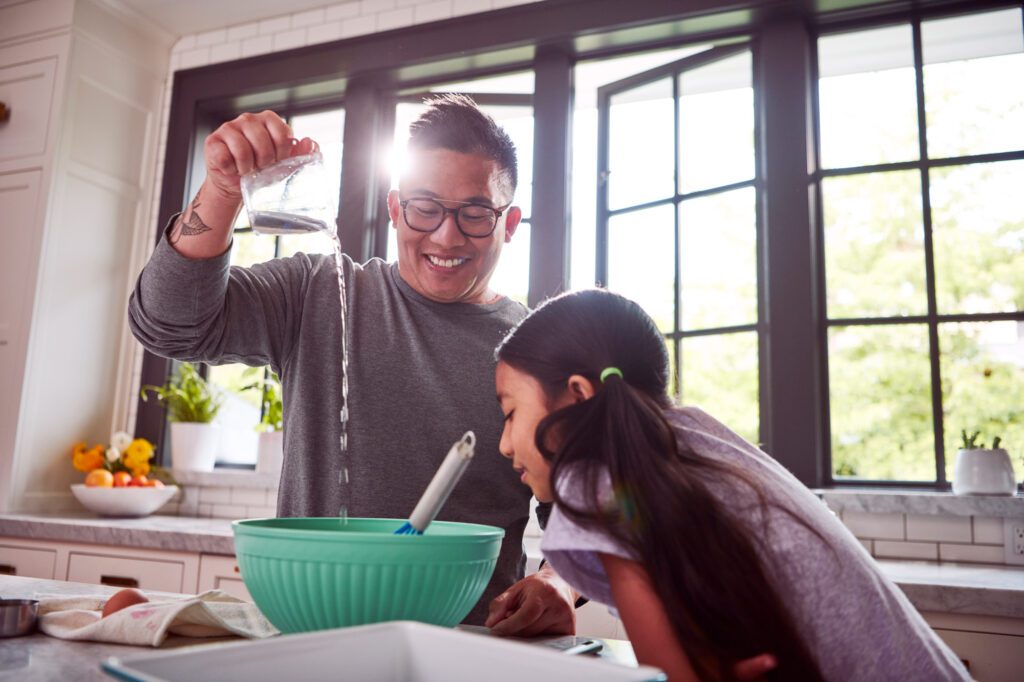
Water: Several of our mixes, like our popular Buttermilk Pancake Mix, only require the addition of water. Water hydrates dry ingredients and activates components like yeast or baking powder, aiding in the leavening process.
- Use cool or room temperature water when adding to your mix. Cold water makes pancakes extra fluffy.
- Measure water accurately using a liquid measuring cup to ensure the right balance of ingredients in your recipe.
- This quick list will help ensure that you don’t shock a recipe with water that’s too warm:
- Lukewarm Water = Room Temp = 75˚ to 80˚F
- Warm Water = 100˚ to 110˚F (this temperature should be used to dissolve yeast)
- Very Warm Water = 120˚ to 130˚F
- Yeast is killed at 140˚F
Eggs: Eggs serve as binders, providing structure to baked goods. They also contribute to the leavening process, giving rise to the batter and creating a light texture.
- Use large-sized eggs at room temperature. Room temperature eggs incorporate more easily into the batter, resulting in tastier (and better-looking) results!
- We know more dishes to clean isn’t ideal, but we recommend you crack eggs into a separate bowl before adding them to the mix. This helps you check for freshness and to avoid any shell fragments from getting into your batter.
Butter: Whether it be salted or unsalted, butter is an essential binding force that the final texture of the recipe depends on.
- If the recipe calls for softened butter and you forget to take it out of the fridge, microwave it in short bursts at low power, checking frequently until it reaches the desired softness.
- To measure butter accurately, use the measurement marks on the wrapper or a kitchen scale.
Vegetable Oil: Vegetable oil gives a soft texture to baked goods like muffins or brownies.
- Measure vegetable oil accurately using a liquid measuring cup. Too much or too little oil can impact the texture of your baked treats.
- We know olive oil is delicious, but leave it in the cupboard when baking! Choose a neutral-flavored vegetable oil to avoid overpowering the taste of baked goods with a distinct flavor.
Milk: Milk can add a richness and flavor to baked goods.
- Use whole milk for a richer flavor, especially in recipes like cakes and muffins. However, if you prefer a lighter option, you can substitute with low-fat or non-dairy milk alternatives like almond or soy milk.
- Gradually add milk to the mix, adjusting the quantity as needed to achieve the desired consistency of the batter.
Mastering Measurements
Precise measurements are the backbone of successful baking, ensuring that your treats turn out just right every time. Unlike cooking, where a pinch of this or a dash of that can often suffice, baking is a science that requires exact measurements of ingredients.
Each component plays a key role in the chemical reactions that occur during baking, from leavening agents like baking powder and yeast to fats like butter and oils. Even small deviations in measurements can lead to significant changes in the final outcome. For example, if you add too much liquid to your muffin mix, the batter may become overly wet, leading to flat and dense muffins. Conversely, if you don’t add enough liquid, the batter could be too dry, resulting in crumbly muffins.
Consistency is key in baking. Whether you’re measuring by weight or using a set of measuring cups and spoons, taking the time to measure each ingredient accurately is a fundamental step towards baking success. So, the next time you’re whipping up a batch of cookies or cornbread, remember the importance of precision in your measurements. We’ve made it super easy to measure out our mixes with minimal fuss.
Don’t have the correct measuring spoons or cups? No problem! We’ve put together this convenient chart to help you out.
Measurement Equivalencies
| 3 teaspoons | 1 tablespoon |
| 2 tablespoons | 1/8 cup |
| 4 tablespoons | 1/4 cup |
| 5-1/3 tablespoons | 1/3 cup |
| 8 tablespoons | 1/2 cup |
| 12 tablespoons | 3/4 cup |
| 16 tablespoons | 1 cup |
| 2 cups | 1 pint |
| 4 cups | 1 quart |
| 4 quarts | 1 gallon |
| 1 pound | 16 ounces* |
| 1 cup | 8 fluid ounces* |
| 1 package (12 oz.) chocolate chips | 2 cups |
| 1 envelope active dry yeast | 2 1/4 teaspoons |
Mixing Methods
Mastering the art of mixing methods is the key to creating perfect baked treats every time. Each method plays a unique role in bringing your batter or dough to life, and understanding when to use one technique or another is the key to baking success. Here’s a breakdown of various mixing methods to help you become a fantastic Maker:
- Beating: Use a mixer or whisk to vigorously combine ingredients until smooth and well incorporated. Commonly used for sponge cakes and meringues.
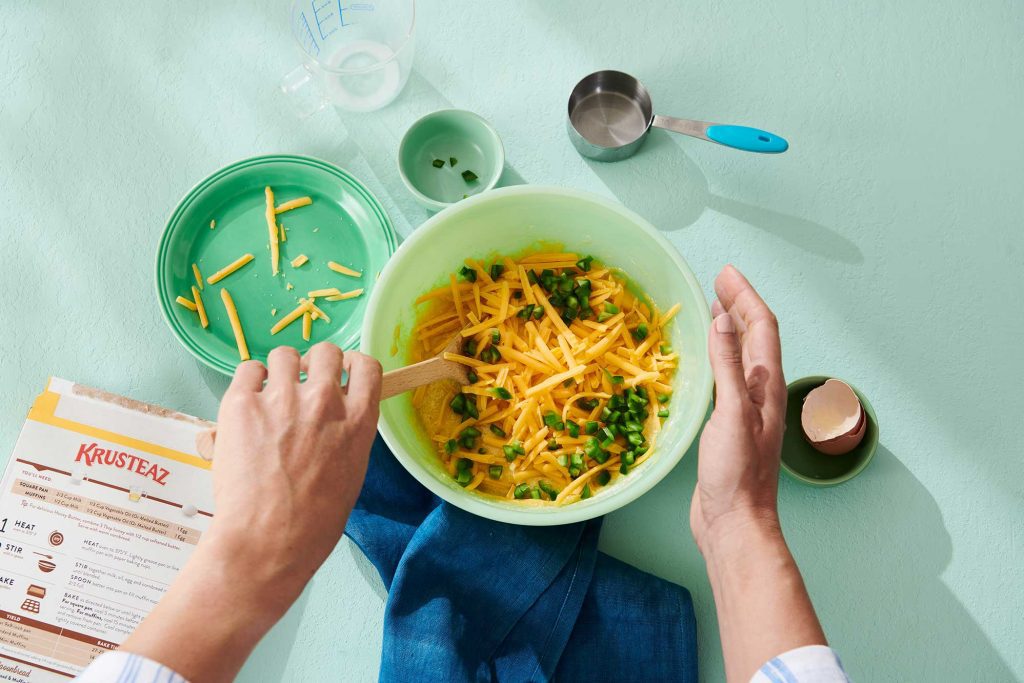
- Blending: Gently combine ingredients together using a spoon or spatula until evenly distributed, ideal for mixing dry ingredients with wet ones. Commonly used for pancake batter, muffins, and quick breads.
- Creaming: Beat together softened butter and sugar until light and fluffy, creating air pockets that help baked goods rise and develop a soft texture. Commonly used for cookies, cakes, and cupcakes.
- Cutting: Incorporate cold fat into dry ingredients using a pastry blender or fingertips, resulting in a crumbly texture for pie crusts and biscuits. Commonly used for pie crusts, biscuits, and streusel toppings.
- Folding: Gently incorporate delicate ingredients, such as whipped egg whites or flour, into a heavier mixture, maintaining the lightness and volume of the batter. Commonly used for souffles, mousse, and chiffon cakes.
- Kneading: Work dough with your hands to develop gluten, creating elasticity and structure in bread and pastry doughs. Commonly used for bread, pizza dough, and bagels.
- Sifting: Pass dry ingredients through a sieve or sifter to remove lumps and aerate, resulting in lighter and fluffier baked goods. Commonly used for cakes, cookies, and delicate pastries.
- Stirring: Mix ingredients together in a circular motion using a spoon or spatula, ensuring even distribution without overmixing. Commonly used for brownies, fudge, and some cookie batters.
- Whipping: Beat ingredients, such as egg whites or cream, until light and airy, incorporating air bubbles for volume and texture in cakes and meringues. Commonly used for whipped cream, meringues, and angel food cake.
Essential Baking Tools And Pan Perfection
While our mixes only require minimal equipment, having the right tools can enhance your baking experience and open up a world of possibilities, especially if you’re eager to experiment with our library of recipes. Whether you’re a novice baker or a seasoned pro, these tools can help you achieve professional-quality results and make the most of our diverse recipe library. Let’s take a closer look at each one.
- Measuring Cups: Perfect for accurately measuring dry and liquid ingredients, ensuring your creations turn out just right every time.
- Measuring Spoons: Ideal for precise measurements of small amounts of ingredients like spices or baking powder, adding that extra touch of flavor to your treats.
- Electric Mixer (Tabletop or Handheld): Speeds up the mixing process and guarantees thorough incorporation of ingredients, making light and fluffy cakes and cookies a breeze.
- Mixing Bowls: Provides the perfect vessel for combining ingredients, making sure your batter is well-mixed without any mess.
- Whisk: Essential for smoothly blending ingredients together, creating perfectly airy batters and smooth mixtures every time.
- Rubber or Silicone Spatulas: Your trusty sidekick for scraping down the sides of bowls, folding in delicate ingredients, and ensuring not a single drop of batter goes to waste.
- Cooling Rack: Allows your baked goods to cool evenly and more quickly, preserving their delicious texture and preventing any sogginess.
- Oven Thermometer: Oven displays aren’t always accurate. With an oven thermometer, you can ensure your oven is at the correct temperature.
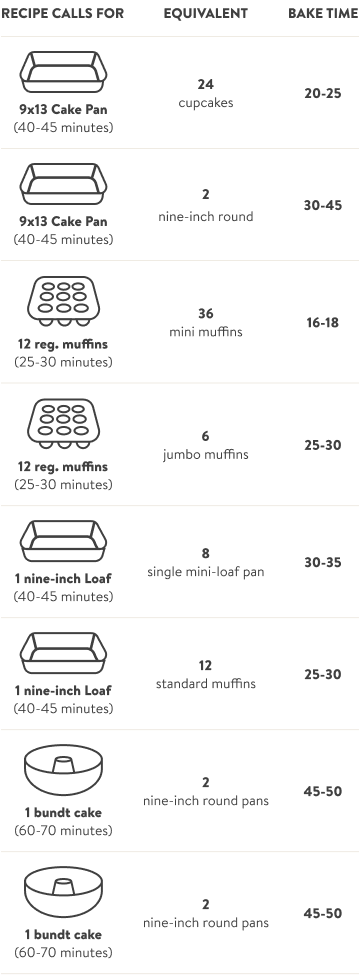
- Baking Pans: Available in various shapes and sizes, these sturdy pans are essential for baking everything from cakes and cookies to muffins and bread, ensuring your treats come out of the oven looking and tasting spectacular. Use our handy chart below to easily convert recipes to match the baking pans that you have.

Testing For Doneness
Oven temperatures aren’t always accurate, which is why it’s important to rely on tried-and-true methods to ensure your baked goods are perfectly done. Here are some tips to guarantee baking perfection:
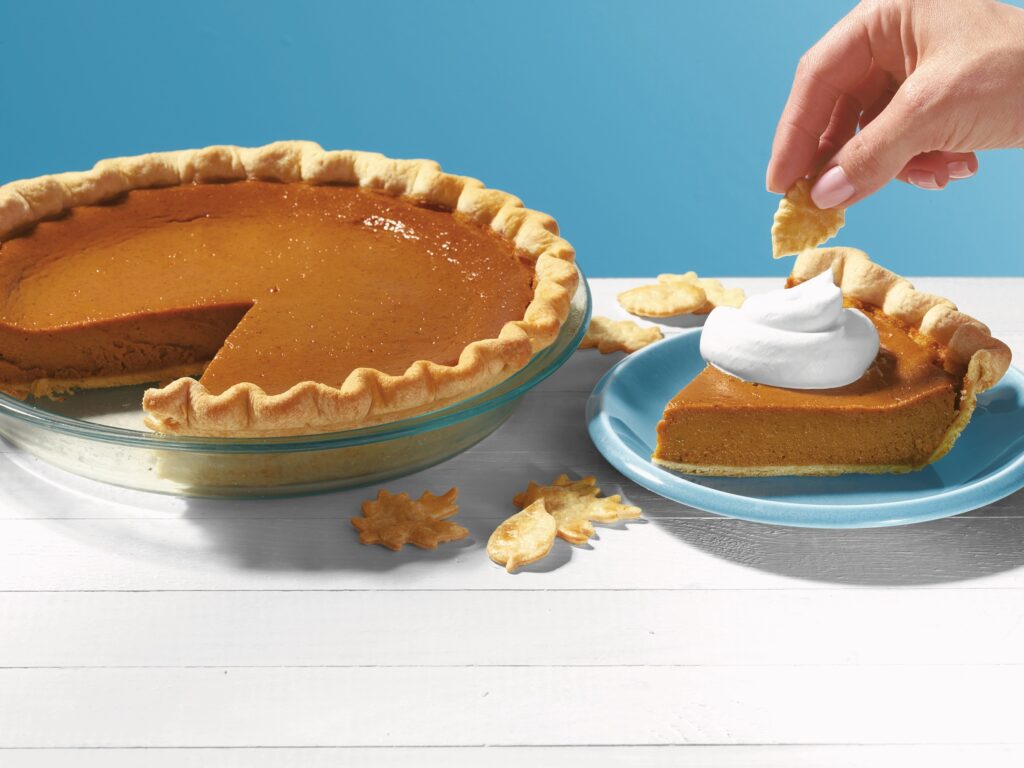
- The Toothpick Method: Ideal for muffins, quick breads, cornbread, and cakes. Simply insert a round toothpick into the center of the pan. If it comes out clean, your creation is ready to delight taste buds. Note: This method isn’t suitable for brownies or citrus bars, as their gooey goodness will always cling to the toothpick.
- The Shaking Method: For citrus bars, remove the pan from the oven and gently shake it back and forth. If the top all moves as one, your bars are good to go. If there is a quarter-size or larger area in the center that still moves independently, give them a few more minutes to bake.
- The Thermometer Method: For brownies, doneness is achieved by accurate bake time and oven temperature. Use an oven thermometer to ensure desired temperature. Freshly baked brownies might seem slightly undercooked, but fear not—they’ll set beautifully as they cool.
- The Spatula Method: For cookies, it’s all about the perfect lift. Open the oven door and slide the edge of a spatula under the edge of one cookie. Lift gently. If it stays flat across the bottom without bending or breaking in the middle, it’s time to take them out. Bar cookies will pull away from the edge of the pan while drop cookies will be golden brown around the edges.
Let’s Put These Tips To The Test
The easiest way to start baking is by diving into one of our delicious recipes. Designed to simplify baking, each of our recipes starts with one of our mixes – no more complicated steps or long lists of ingredients! With a variety of sweet treats and savory meals, there’s something for every Maker in our recipe library.
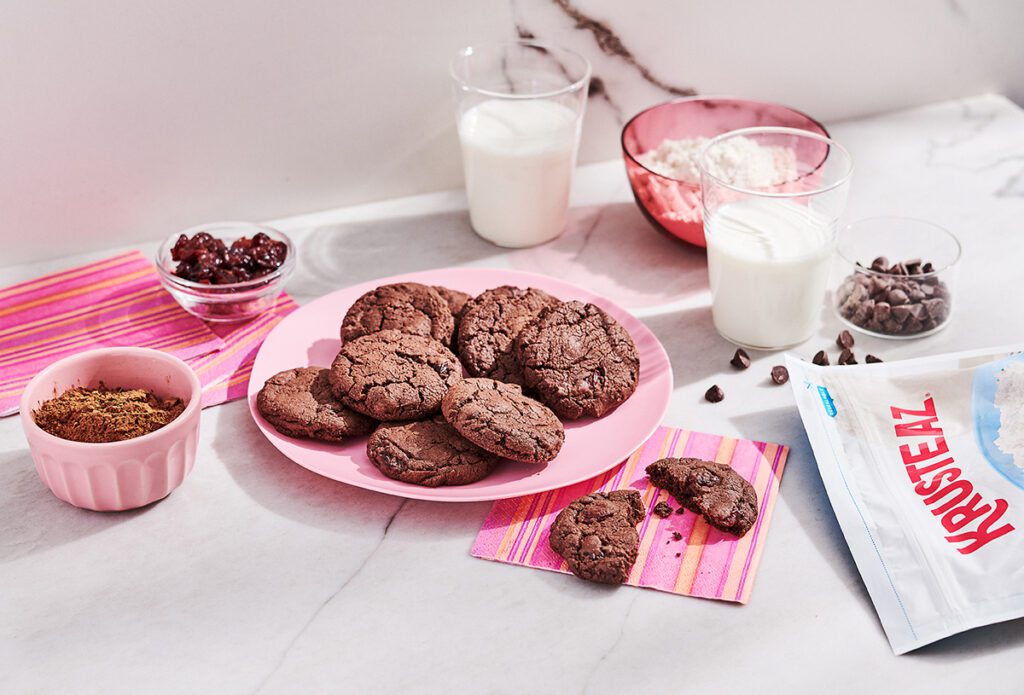
- Brownies: Indulge your sweet tooth with our irresistible brownie recipes. From classic fudgy chocolate to creative variations like peanut butter and jelly or peppermint, our brownie recipes are sure to leave your family asking for seconds.
- Cookies: Sink your teeth into our chewy, gooey, and downright delicious cookie recipes. From classic chocolate chip to delicate shortbread, our cookie recipes offer a variety of flavors and textures to suit every preference. Perfect for sharing with family and friends or enjoying as a sweet indulgence all to yourself.
- Cornbread: Add a touch of Southern comfort to your meals with our mouthwatering cornbread recipes. Whether you prefer it sweet or savory, our cornbread recipes are guaranteed to be a hit at any gathering. Serve alongside chili, barbecue, or simply enjoy it on its own as a tasty snack or side dish.
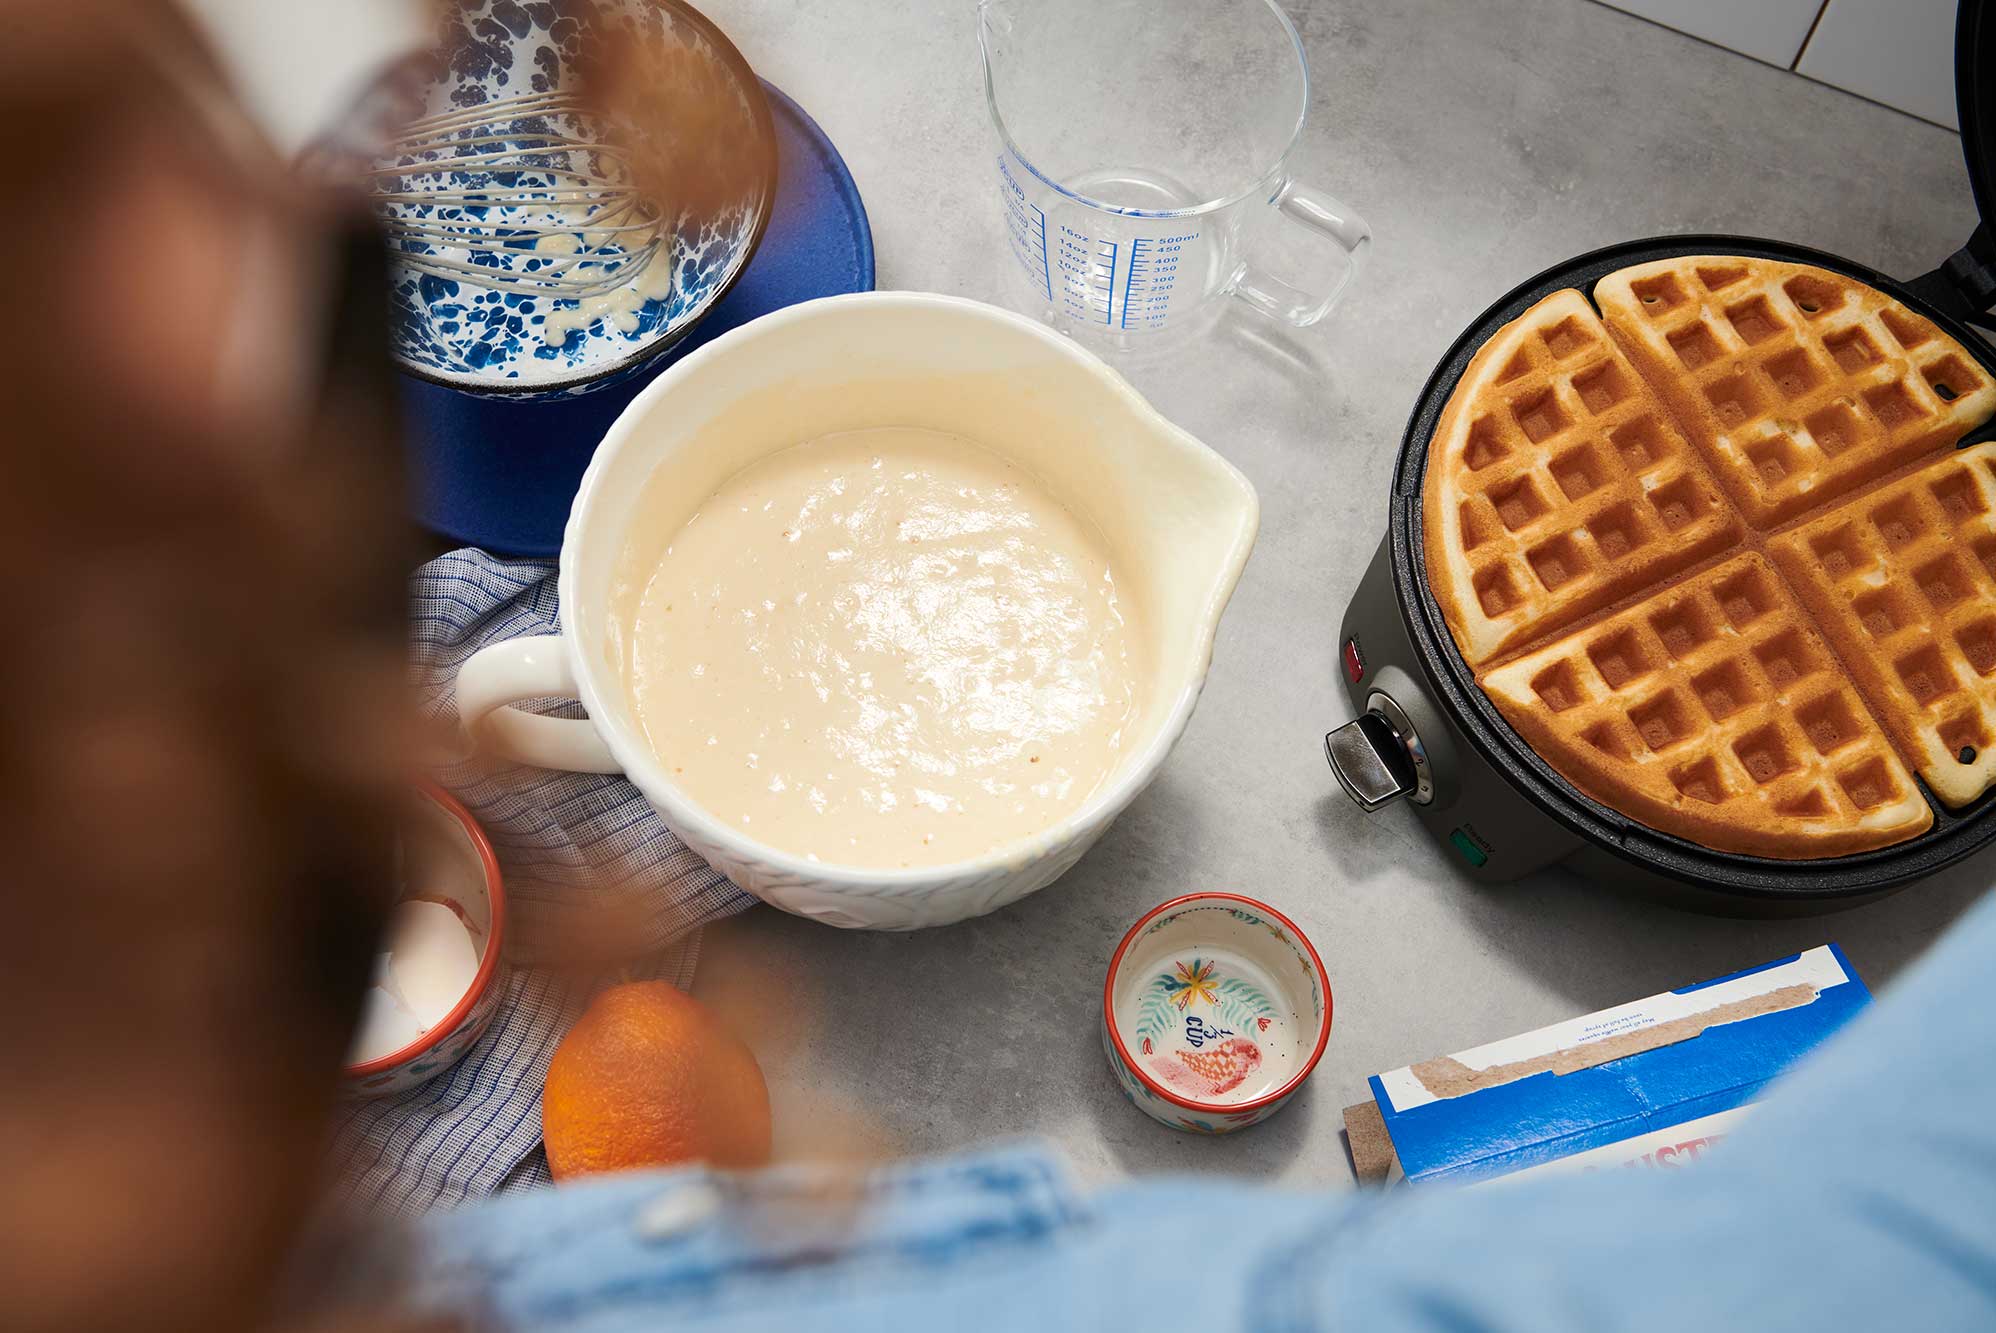
- Pancakes: Start your day off right with fluffy and delicious pancakes made from our convenient mixes. With a variety of flavors and toppings to choose from, our pancake recipes are perfect for breakfast or brunch any day of the week. Treat yourself to a stack of pancakes smothered in syrup or topped with fresh fruit for a delightful morning treat.
- Waffles: Elevate your breakfast game with crispy and golden waffles made using our versatile mixes. Whether you prefer classic buttermilk waffles or adventurous flavors like cinnamon roll or chocolate chip, our waffle recipes make mornings extra special. Top with your favorite syrup, fruit, or whipped cream for a breakfast that’s sure to impress.
So why wait? Explore our recipe collection today and discover the joy of baking with Krusteaz. With easy-to-follow instructions, you’ll be whipping up delectable treats in no time. We can’t wait to see what you’re going to bake.