There aren’t many things better than pulling a fresh batch of baked goods from the oven and sharing them with loved ones. From the aroma that fills the kitchen, to debating who gets the honor of having the first taste, baking has a way of bringing everyone together.
But what happens when you make a little too much, or want to get ahead for a busy week? That is where your freezer becomes your best baking tool.
Freezing baked goods is a simple way to reduce waste, save time, and make everyday baking feel effortless. With reliable KrusteazⓇ baking mixes and recipes, you can prepare now and enjoy later without sacrificing flavor or texture. Whether you are planning for the holidays, stocking your freezer with quick breakfasts, or saving a few brownies for yourself, these freezer tips will help you bake with confidence whenever the moment calls for it.
What Can (And Can’t) Go In The Freezer
You might be surprised by how many foods actually work great in the freezer. Banana breads and other quick breads are freezer-friendly loaves because of how moist and dense they are. But not everything holds up in the freezer: cream-filled baked goods like eclairs and tarts destabilize and run the risk of being soggy and limp because of their flaky exteriors and starch breakdowns in the freeze-thaw cycle.
Different foods have different ingredients, moisture contents, and textures. If your recipe involves icing or frosting, it may be better to freeze plain and add the icing just before serving. Ingredients that are airy and emulsified are better prepared and consumed without using the freezer, but fudgy and dense ingredients taste great after a stay in the freezer. Foods that have a lot of butter or fat also freeze great.
Some freezer-safe baked goods include:
- Cookies
- Cakes (unfrosted)
- Muffins
- Quick breads
It may take some initial trial and error, but familiarizing yourself with freezing is an easy process that yields sweet benefits.
How To Freeze Fully Baked Goods
Baking treats and serving them is a satisfying process. Here are some universal tips to ensure that your baked goods taste just as good freshly out of the freezer as they do freshly out of the oven:
- Cool Your Baked Goods: It can be tempting to wrap and freeze baked goods as soon as they come out of the oven. Allow time for your goods to cool so that your treats keep their texture and don’t become soggy or grow bacteria before they freeze.
- Wrap Each Treat Individually: Ensuring that your goods are properly wrapped helps make sure that they will thaw properly, which is all the more important if the goods are already fully baked. Plastic wrap, foil, or parchment paper will help treats maintain their freshness.
- Place in a Freezer-Safe Container: If your baked goods are improperly wrapped or exposed to freezer air, you run the risk of freezer burn. Effectively sealing your baked goods in an air-tight, freezer-safe container will allow your treats to maintain their quality and ensure they taste excellent at any time.
Freezing Cakes
Freezing cakes is a simple way to have a celebration-ready dessert without the last-minute rush. Whether you are saving an entire frosted cake or just a few slices for later, the right technique keeps every bite moist, flavorful, and just as special as the day you baked it. Here’s how to make sure every bite is a delight:
- Cool Down First: Be sure your cakes are completely cool before wrapping to freeze, otherwise you risk soggy slices from the condensation.
- Consider Skipping the Frosting: While frosting and cake decorations are pretty, freezing them can be challenging if done incorrectly. If freezing individual cake layers or slices, try to freeze them before frosting and make the frosting fresh when serving. Freezing a cake with frosting can throw the freshness and taste off, so it can be better to wait until the cake has thawed to apply.
- Freezing with Frosting: If freezing with frosting is essential, don’t worry! Place the entire frosted cake, uncovered, in the freezer for up to 4 hours (or as long as the frosting takes to become rock hard), then wrap in plastic wrap and aluminum foil. If freezing with frosting, buttercream and ganache icing will thaw best.
- Double Wrapping: Whether slices, layers, or an entire cake, double wrapping can help preserve freshness. Wrap first in a layer of plastic wrap, and then cover in a second layer, like aluminum foil.
- Preserve Freshness: A freezer-safe storage container can also be handy to ensure that none of the freshness escapes the wrapping. For peak flavor, enjoy within one month, or up to three.
- Thawing: Begin thawing in the fridge twenty-four hours before you want to enjoy, loosening the plastic gently to thaw the cake. This helps preserve the cake’s structure and flavor.
- Label, Date, Enjoy: With cakes, the sooner you eat them, the fresher they’ll taste (three months or before is best).
Pound cakes are an excellent type of cake to freeze because of their sturdy texture. Grab a box of our Vanilla Pound Cake Mix, and make a cake on your own terms and timing. If you want to make it more of your own, consider making this Glazed Apple Walnut Cake Recipe and making the glaze after your cake thaws for a tasty treat.
Freezing Cookies
Cookies may be one of the best baked goods to freeze, because of their chewy textures and how easy to store they are. Here are some tips to keep in mind so your cookies bake fresh everytime:
- Keep Texture in Mind: Drop cookies like chocolate chip or snickerdoodle have thicker textures that keep them fresher longer when frozen. Try using our Gluten Free Chocolate Chip Cookie Mix for rich and delicious cookies that everyone can enjoy.
- Bake Before Serving: Frozen cookie dough makes flexible baking easy! Just pop your cookie dough into the oven and add a minute or two to the baking time.
- Freezing Baked Cookies: Baked cookies can easily become a staple in your freezer rotation. Soft and chewy cookies freeze best, but you can’t go wrong freezing crisp cookies too.
- Allow Time to Cool Before Freezing: This helps them keep their texture.
- Seal From Air: Place cookies on layers of parchment paper to avoid sticking, and place in an airtight container to preserve their fresh flavor. You can also individually wrap cookies to make sure their flavor is protected.
- Label, Date, Enjoy: Try to eat your treats in two to three months to maximize freshness. To enjoy, consider bringing your cookies to room temperature or briefly warming them to maintain their texture and freshness. In just minutes you’ll have warm cookies ready to be shared.
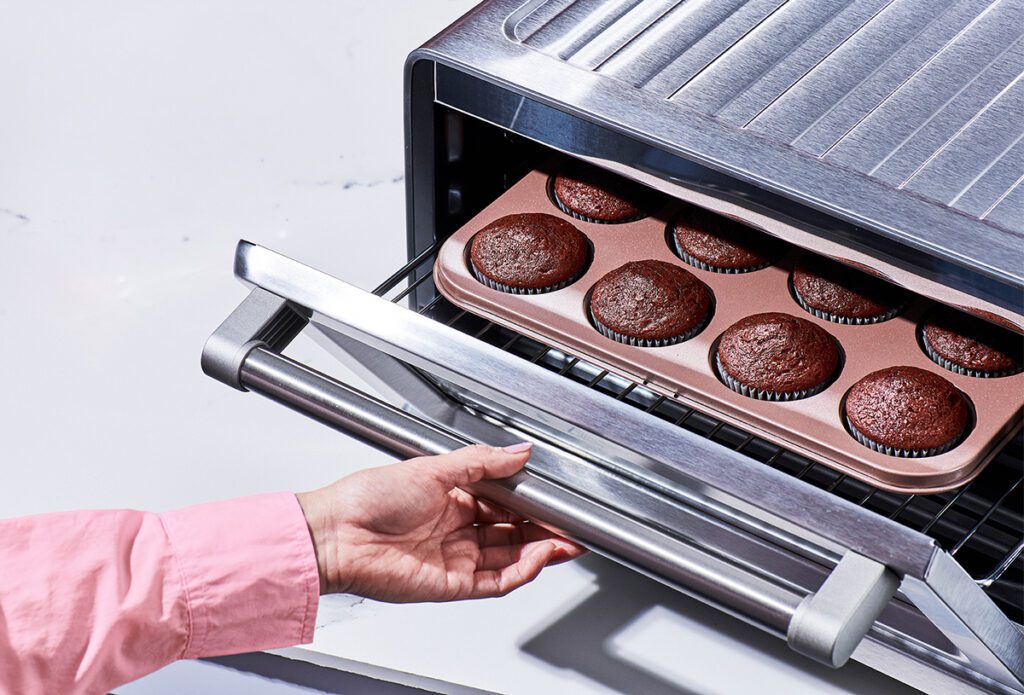
Freezing Muffins And Quick Breads
Certain muffins and quick breads freeze wonderfully due to their texture and ingredients. These treats are dense and have a high moisture retention, which means they stay soft and tender after thawing. Our Apple Spice Banana Muffins Recipe is perfect for freezing to enjoy at any time.
- Cool Completely First: Make sure to let your muffins and quick breads fully cool after baking, and wrap them tightly before storing in a freezer-safe bag or storage container to boost freshness. For easy freezing, muffins can be frozen in paper liners for perfect portions.
- Slice Before Freezing: Allow your quick bread to cool completely before slicing into individual portions. Once sliced, wrap each piece tightly and consider double wrapping to help preserve flavor and texture. This approach makes it easy to grab a portion when you’re ready to enjoy, while maintaining the quality of your baked treat in the freezer.
- Label, Date, Enjoy: These treats are best enjoyed within three months from freezing. To enjoy, take off the plastic wrap, and cover your goods in aluminum foil and heat in the oven for that warm, “just-baked” feeling. Or, for gentle thawing you can simply leave your goods on your counter top for a few hours while still wrapped.
Freezing muffins and quick breads makes preparing a sweet breakfast or an afternoon pick-me-up simple. It’s an easy win without losing any quality or flavor.
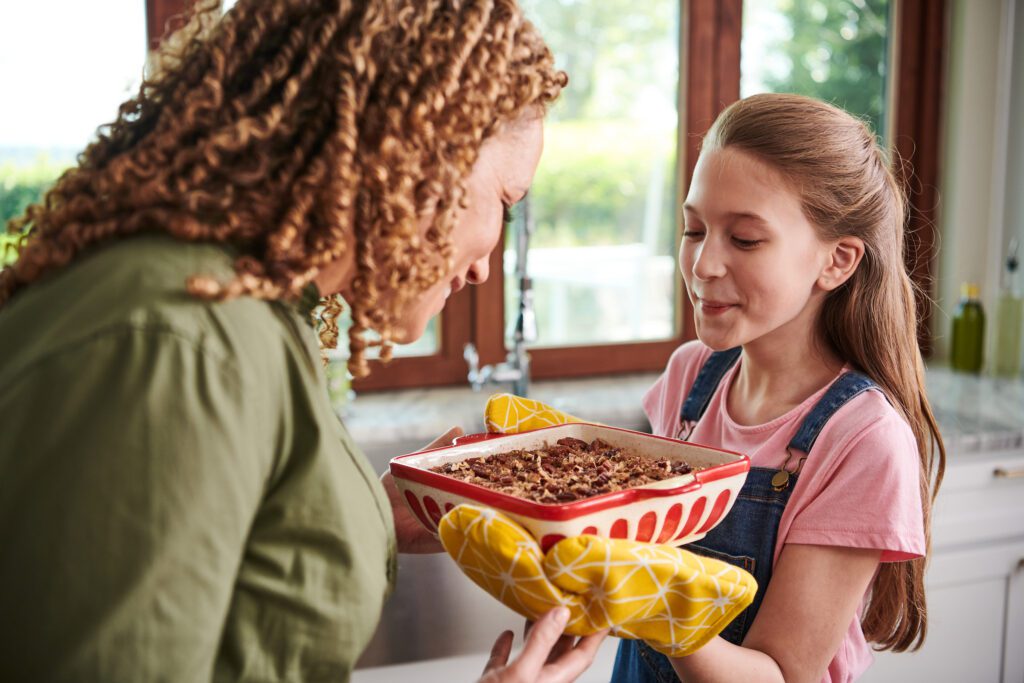
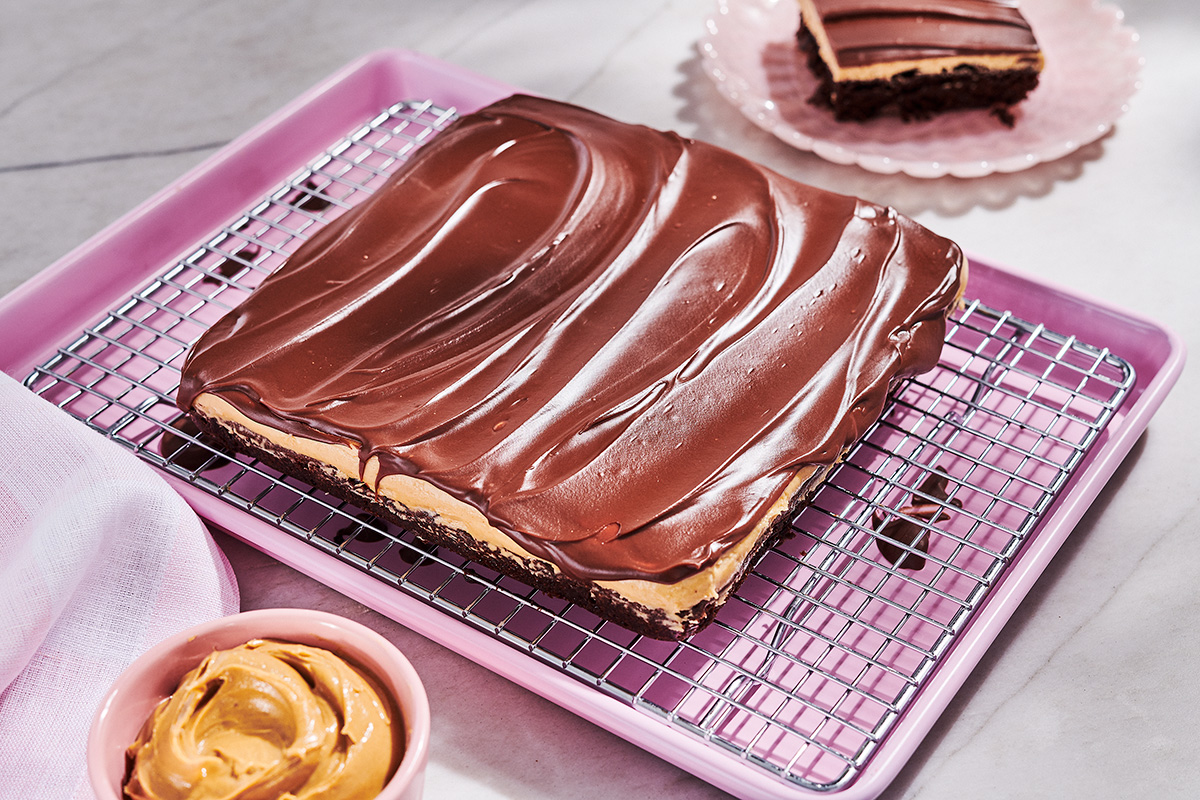
Freezing Brownies And Bar Desserts
Brownies and other bar desserts are easy to freeze. Their dense, moist texture holds up beautifully which means you can bake now and enjoy later without sacrificing any of their classic flavor. Starting with a reliable mix, like Krusteaz Gluten Free Double Chocolate Brownie Mix, makes freezer prep even more foolproof.
- Cool Completely First: Warm brownies create condensation when wrapped, which can lead to soggy texture. Let them cool fully before preparing them for the freezer.
- Flash Freezing: Brownies can be frozen in the baking pan, wrapped in foil and then sealed in a freezer bag. After this initial flash freezing, you can individually wrap the bars in parchment paper, plastic wrap, or aluminum, and store in a freezer-safe container.
- If freezing a layered bar or brownie with soft layers like caramel, flash-freeze in the baking pan to ensure that the layers stay preserved.
- Freeze Whole or Portioned: You can freeze the entire pan for easy storage or slice the brownies into individual bars for convenient grab-and-go treats later.
- Wrap Tightly: Wrap brownies in plastic wrap or parchment paper, then add a second layer of foil or place them in an airtight container. Proper wrapping helps prevent freezer burn and keeps their rich, fudgy flavor intact.
- Label, Date, Enjoy: Brownies maintain their peak flavor for up to three months in the freezer.
Our Blueberry Lemon Cream Bar Recipe makes for a sweet and citrusy spin on the bar dessert, and if freezer prepped, will make sure you always have something to satisfy your sweet tooth on hand.
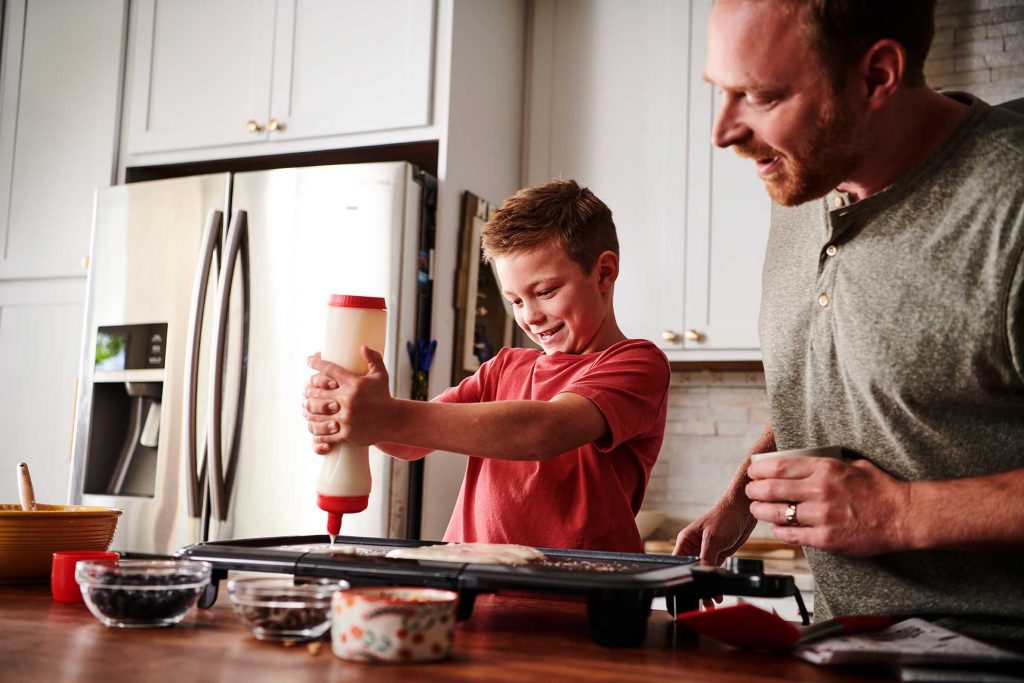
Freezing Pancakes And Waffles
Not enough time in the morning to prepare breakfast? No problem. Krusteaz pancake and waffle mixes can be pre-prepared and frozen for a classic and quick breakfast. Pancakes and waffles are especially well-suited for freezing because of their low-moisture density and shape.
- Cool Completely First: Allow pancakes and waffles to cool fully before freezing. Freezing them while warm can create condensation, which may affect their texture.
- Flash Freezing: Arrange pancakes or waffles in a single layer on a tray. Once frozen, stack them with parchment or wax paper between them to prevent sticking and transfer them to an airtight, freezer-safe bag or container to help prevent freezer burn and flavor transfer.
When it’s time to enjoy them, reheating is quick and easy with a few simple methods:
- Heat from Frozen: Pancakes and waffles can go straight from the freezer to the toaster, oven, or microwave. Heating them directly from frozen helps restore their crisp edges and warm centers.
- Toast Individual Portions: The toaster is a convenient way to reheat single pancakes or waffles. If your batch includes mix-ins like chocolate or fruit, keep an eye on them as they heat to prevent melting or sticking.
- Warm Larger Batches in the Oven: For feeding a crowd, place pancakes or waffles on a baking sheet and warm them in the oven for about 10 minutes until heated through.
- Skillet Refresh: Reheating pancakes or waffles in a lightly buttered skillet can bring back that just-made flavor and texture.
With a variety of ways to reheat with ease, pancakes and waffles are a delicious pair to add to your freezer repertoire. For a protein-packed breakfast option, try our Buttermilk Protein Pancake Mix to start your day.
Freeze With Confidence
From brownies to quick bread to cookies and cakes, there are endless possibilities to begin incorporating freezing as a part of your baking and meal prep routines. Freezing can help add flexibility to busy routines, and can be a forgiving way to experiment with baking new treats without having to worry about eating them all at once.
Freezing can support and elevate everyday baking, not just special occasions. Krusteaz mixes can help take more of the guess work out of baking to make freezing an even more seamless process. Whether you’re a novice or an expert baker, try these freezer tips to make the most of your sweet treats, you’ll thank yourself later!