Chocolate has a way of making baked goods feel extra special. Whether it’s drizzled over a cake, swirled into a brownie batter, or used as a glossy glaze, melted chocolate is one of those finishing touches that makes people say, “Whoa, you made this?”
If you’ve ever tried melting chocolate and ended up with a clumpy mess instead of a smooth stream, don’t worry. You’re not alone. Melting chocolate can be a little finicky, but once you know a few tricks, it’s easy, and so worth it. And when you pair your perfectly melted chocolate with KrusteazⓇ mixes, you’ve got yourself a bake that looks and tastes bakery-made with half the effort.
Let’s walk through why melting chocolate matters, the best ways to do it, and which Krusteaz recipes are just begging for that extra chocolatey touch.
Why Melted Chocolate Matters
Melted chocolate isn’t just about flavor, it transforms texture, appearance, and the overall experience of your bake.
- Better Texture: Stirring melted chocolate into batters creates rich, fudgy brownies and deeply chocolatey cakes.
- Glossy Finishes: A chocolate glaze dripping down a bundt cake or funnel cake instantly elevates presentation.
- Extra Flavor Punch: Swirl it into muffins, dip truffles, or coat cake pops to add depth to every bite.
Choosing The Right Chocolate
Choosing the right chocolate is just as important as knowing how to melt it. Here’s a quick guide:
Types Of Chocolate
- Dark Chocolate: Bold and slightly bitter, dark chocolate melts beautifully and adds depth to batters or glazes.
- Semi-Sweet Chocolate: A versatile favorite, sweet enough to enjoy but still rich. Perfect for brownies, glazes, or dipping.
- Milk Chocolate: Creamy and sweet, with a softer texture when melted. Ideal for coating or drizzling desserts where you want a sweeter touch.
- White Chocolate: Smooth and sweet, but technically no cocoa solids. It melts into a creamy coating that pairs beautifully with fruity or spiced desserts.
Forms Of Chocolate
- Baking Chocolate Bars: Readily available and easy to break into pieces. Bars usually melt smoothly because they contain cocoa butter without extra stabilizers. They’re a reliable choice for baking, dipping, or making glazes.
- Chocolate Blocks: Larger, bulk packaging of baking chocolate. They need to be chopped into smaller pieces for even melting, but they’re economical when baking in volume. Blocks melt consistently and work well in batters or for making coatings.
- Couverture Chocolate: Professional-grade chocolate with a higher percentage of cocoa butter. This extra cocoa butter gives it a silky texture and superior melting qualities, making it ideal for tempering, enrobing, and creating glossy finishes.
- Chocolate Chips: Formulated with stabilizers to hold their shape in cookies and other baked goods. While convenient, they don’t melt as smoothly as bars or couvertures. Best used in recipes where you want defined pieces, like cookies or muffins, but less suited for silky sauces or coatings.
Melting Methods
There are a few tried-and-true methods for melting chocolate and wafers. Pick the one that fits your style and setup:
Microwave Method
- 1. Chop chocolate into even, small pieces, or use wafers as-is.
- 2. Place in a microwave-safe bowl.
- 3. Heat in 30-second bursts, stirring after each round.
- 4. Stop when most pieces are melted and stir until smooth.
Don’t overdo it. Chocolate can burn quickly in the microwave, and there’s no saving scorched chocolate.
Double Boiler Method
- 1. Set a heatproof bowl over a pot of simmering water (the bottom of the bowl shouldn’t touch the water).
- 2. Add your chocolate or wafers to the bowl.
- 3. Stir until melted and glossy.
This method is slow, steady, and very forgiving – perfect if you want control.
Direct Heat Method
- 1. Place chopped chocolate or wafers in a heavy-bottomed saucepan.
- 2. Heat on the lowest setting, stirring constantly.
- 3. Remove as soon as everything is mostly melted, carryover heat will finish the job.
Keep stirring and don’t step away. The bottom can burn before the top even starts melting.
Common Chocolate Melting Issues
Melted chocolate can be a little temperamental, but most problems are easy to prevent, and even easier to fix once you know what to look for. Here are some of the most common issues you might run into and how to handle them.
Seizing
When chocolate seizes, it suddenly turns thick, stiff, and grainy instead of smooth. This usually happens when even a drop of water comes into contact with the chocolate, or if it’s overheated. To fix seized chocolate, gently stir in a small amount of butter, cream, or neutral oil until it smooths back out. Prevent seizing by keeping utensils and bowls completely dry and by melting slowly over low heat.
Grainy Or Lumpy Chocolate
Chocolate can become grainy or lumpy if it gets too hot too quickly. High heat causes the sugar and cocoa particles to clump together instead of staying suspended in the cocoa butter. The best way to avoid this is to melt chocolate slowly, stirring often, and keeping the temperature as low as possible.
Burning Or Overheating
Burned chocolate has a scorched smell and turns dry and clumpy. This usually happens when chocolate is heated directly over high heat or left too long in the microwave. To prevent overheating, always melt in short microwave bursts (15-30 seconds, stirring in between) or use a double boiler, which keeps the chocolate over gentle, indirect heat.
Using Melted Chocolate In Baking
Once your chocolate is melted to perfection, the fun really begins. Here are the main ways to use melted chocolate in your baking:
Incorporating Into Batters
Adding melted chocolate directly into cake, brownie, or muffin batters is a great way to boost flavor and richness, but it needs to be done carefully to avoid losing volume or overmixing. Always add the chocolate gradually and mix it in gently to maintain the batter’s structure.
- Brownies And Muffins: Swirl melted chocolate into the batter for pockets of gooey, chocolate-forward flavor. For a marbled look, fold lightly rather than fully mixing.
- Cakes: Gently stream melted chocolate into the batter while mixing on low speed. This ensures even distribution without deflating the batter.
Pro Tip: Warm the chocolate slightly so it’s fluid but not hot before adding it to your batter, this prevents it from seizing and helps it blend more smoothly.
As A Coating Or Dip
Melted chocolate makes an easy yet impressive coating for cookies, pretzels, fruit, or bite-sized desserts. For the best results, let the chocolate cool slightly after melting, this helps it cling smoothly to your treat and set with a glossy, professional-looking finish.
- Gluten Free Chocolate Covered Brownie Bites: Dip small brownies in chocolate or wafers for an easy-to-make treat that looks bakery-worthy.
- Spooky Ghost Pumpkin Spice Cake Pops: Coat in white wafers and decorate with dark chocolate for a fun, festive look.
- Lemon Cake Truffles: A smooth chocolate or wafer coating creates a polished finish for these sweet, tangy bites.
Pro Tip: If your coating feels too thick, stir in a small amount of vegetable oil or shortening for an extra-smooth finish that’s easier to dip.
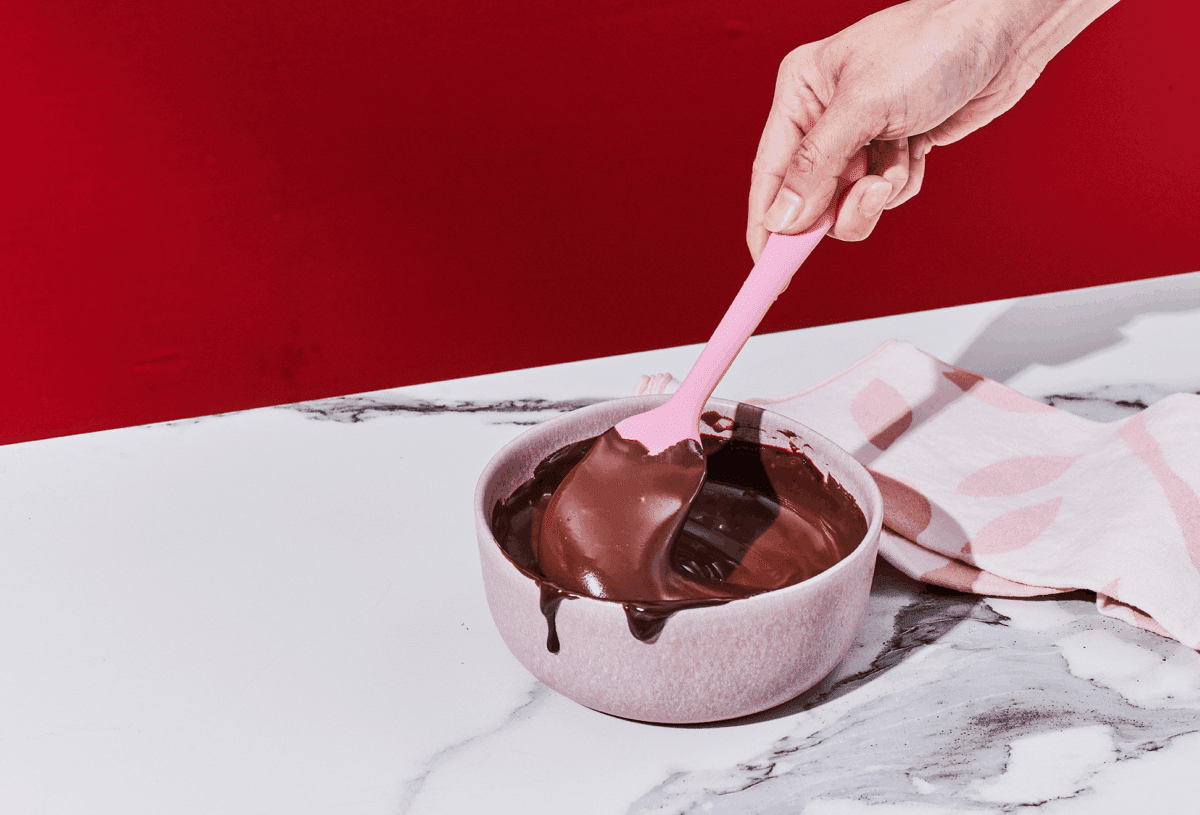
Making Ganaches
Ganache starts with melted chocolate combined with warm cream (and sometimes butter) to create a smooth, glossy mixture. It can be poured as a glaze, whipped into a filling, or drizzled over finished desserts for a polished touch. Adding cream or butter not only softens the texture but also gives the ganache a beautiful shine.
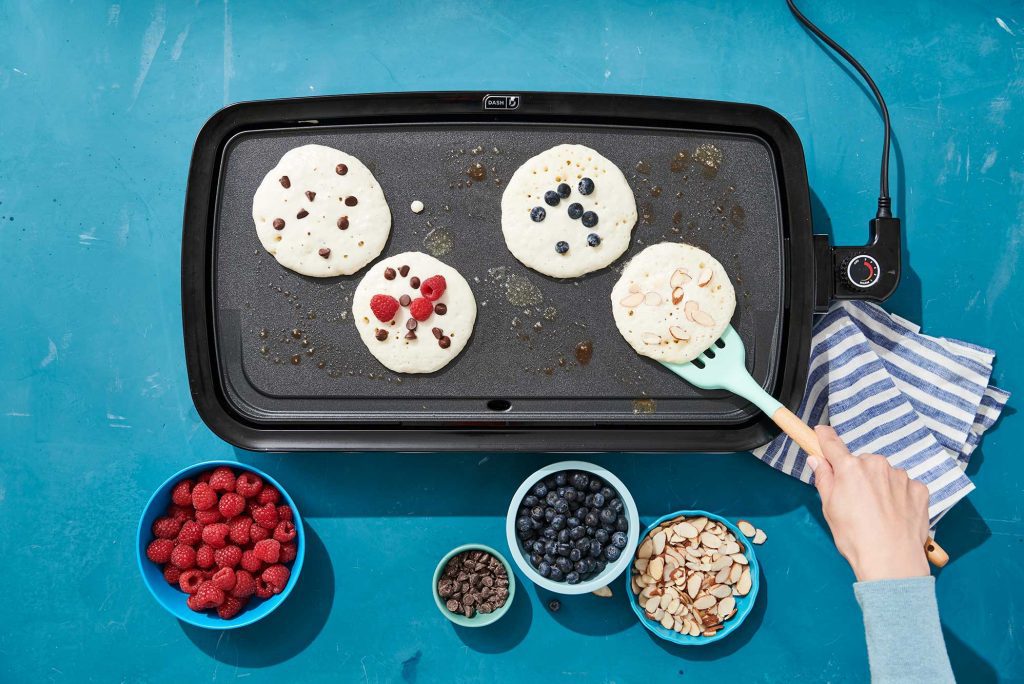
- Chocolate Glaze: Use this simple ganache-style glaze to top bundt cakes, muffins, or pancakes for a glossy, mouthwatering look.
- Layered Cakes: Use ganache as a decadent layer filling or drip down the sides for a dramatic effect.
Pro Tip: Warm the cream gently before adding it to the chocolate, and stir until smooth. Let the ganache cool just slightly before pouring so it sets with the right thickness instead of running off your dessert.
Drizzles And Swirls
Sometimes the simplest touch, like a drizzle or swirl of melted chocolate, is all you need to give a dessert a bakery-worthy finish. Drizzles are quick, versatile, and add just enough chocolate flavor without overpowering your baked goods. Swirls, on the other hand, can create eye-catching marbled designs inside or on top of cakes, brownies, and bars.
- Funnel Cakes: A zigzag of melted chocolate instantly elevates this fair-favorite treat.
Pro Tip: Use a piping bag, squeeze bottle, or even a spoon to control the flow and pattern of your drizzle. For swirls, work while the chocolate is still soft, and try mixing dark, milk, and white chocolate together for a beautiful marbled finish.
Storing And Reusing Melted Chocolate
Leftover melted chocolate doesn’t have to go to waste, it can be saved and used again if stored properly. Simply let the chocolate harden at room temperature or in the refrigerator, then break it into smaller pieces for easier melting later.
When you’re ready to reuse it, gently reheat the pieces in short microwave bursts (stirring in between) or with a double boiler until smooth. If the chocolate looks a little dull or stiff after reheating, stir in a small amount of butter, cream, or neutral oil to restore its shine and silky texture.
Avoid sealing chocolate in a container while it’s still warm. Condensation can form, and even a small amount of moisture can cause the chocolate to seize the next time you melt it.
Your Chocolate Moment Awaits
Melting chocolate doesn’t have to be intimidating, it’s one of those small tricks that can make a huge difference. From glossy glazes to dipped bites, it’s the easiest way to elevate your Krusteaz bakes.
Keep chocolate on hand next time you bake with your Krusteaz mixes, and watch your creations shine. Try it with our brownie, pancake, or cake recipes for instant wow factor!